How to Track Construction Expenses in Nepal (Materials, Labor & Payments)
A practical system to track construction expenses in Nepal: material deliveries, labor, contractor payments and advances — so you know where every rupee went before the final bill.
GharNaksa Team
Construction tracking for Nepal
If you are building a house in Nepal and your only expense record is a WhatsApp chat, a stack of paper bills and a mental running total, you are not alone — and you are almost certainly underestimating what you have spent.
Construction expenses do not fail because families are careless. They fail because money moves daily in small pieces: a truck of sand, two mason-days, a supplier advance, a weekend material top-up. Without one shared system, those pieces never add up to a trustworthy total. This guide is the system. For the material side specifically, pair it with how to track cement, rod and sand.
What counts as a construction expense
Track every outflow that belongs to the project — not only the contractor’s lump-sum invoices. A complete expense record for a residential build usually includes:
- Materials — cement, rebar, sand, aggregate, bricks, timber, tiles, paint, fittings and consumables.
- Labor — mason-days, helpers, skilled trades, overtime and supervision wages.
- Contractor payments — mobilization advances, stage payments, retention releases and variations.
- Professional fees — design, soil test, structural engineer, municipal approvals and connections.
- Site overhead — transport, temporary power/water, tools, security and unexpected rework.
The five fields every expense entry needs
- 1Date — when the money moved or the goods arrived, not when you remembered to write it down.
- 2Category — materials, labor, contractor, fees or overhead. Categories make reports useful later.
- 3What for — “OPC 53 cement, 50 bags, Shivam” beats “materials.” Specificity settles disputes.
- 4Amount and rate — total paid plus unit rate when relevant (per bag, per day, per trip).
- 5Who received it — supplier name, worker name or contractor. Attach the challan or transfer proof.
Those five fields turn a pile of bills into a ledger you can filter by stage, supplier or month. They are also what a construction cost calculator estimate needs to be compared against in real life.
Daily habit that keeps the ledger honest
The best expense system is the one someone will actually update on a noisy site. Aim for ten minutes at the end of each working day:
- Log every delivery with quantity, rate and supplier — photograph the challan and the pile.
- Record labor heads present and the agreed day rate; see labor tracking with mason-days.
- Enter payments and advances immediately, not “when we settle later.”
- Note incomplete work or short deliveries the same day they happen.
- Share the update with the homeowner or NRN client before the next payment request.
A short daily site log plus expense entries is enough to answer “what did we spend this week?” without reconstructing the month from memory.
Compare the plan with reality every week
Tracking expenses only helps if you look at them. Once a week, compare running totals with your stage budget from a construction budget template or the house build plan generator:
- Materials vs estimate — are bag counts and rates tracking the BOQ or drifting?
- Labor intensity — more mason-days than planned usually means rework, weather loss or scope creep.
- Payment vs progress — money released should match verified work, not pressure; use a payment schedule.
- Contingency burn — if contingency is already half gone before finishing starts, pause upgrades.
Why chat groups fail as an expense tracker
WhatsApp is excellent for coordination and terrible as an accounting system. Amounts sit inside voice notes, photos of bills disappear under stickers, and nobody can total “all cement paid this month” without scrolling for an hour. The full comparison is in WhatsApp vs. a construction tracker.
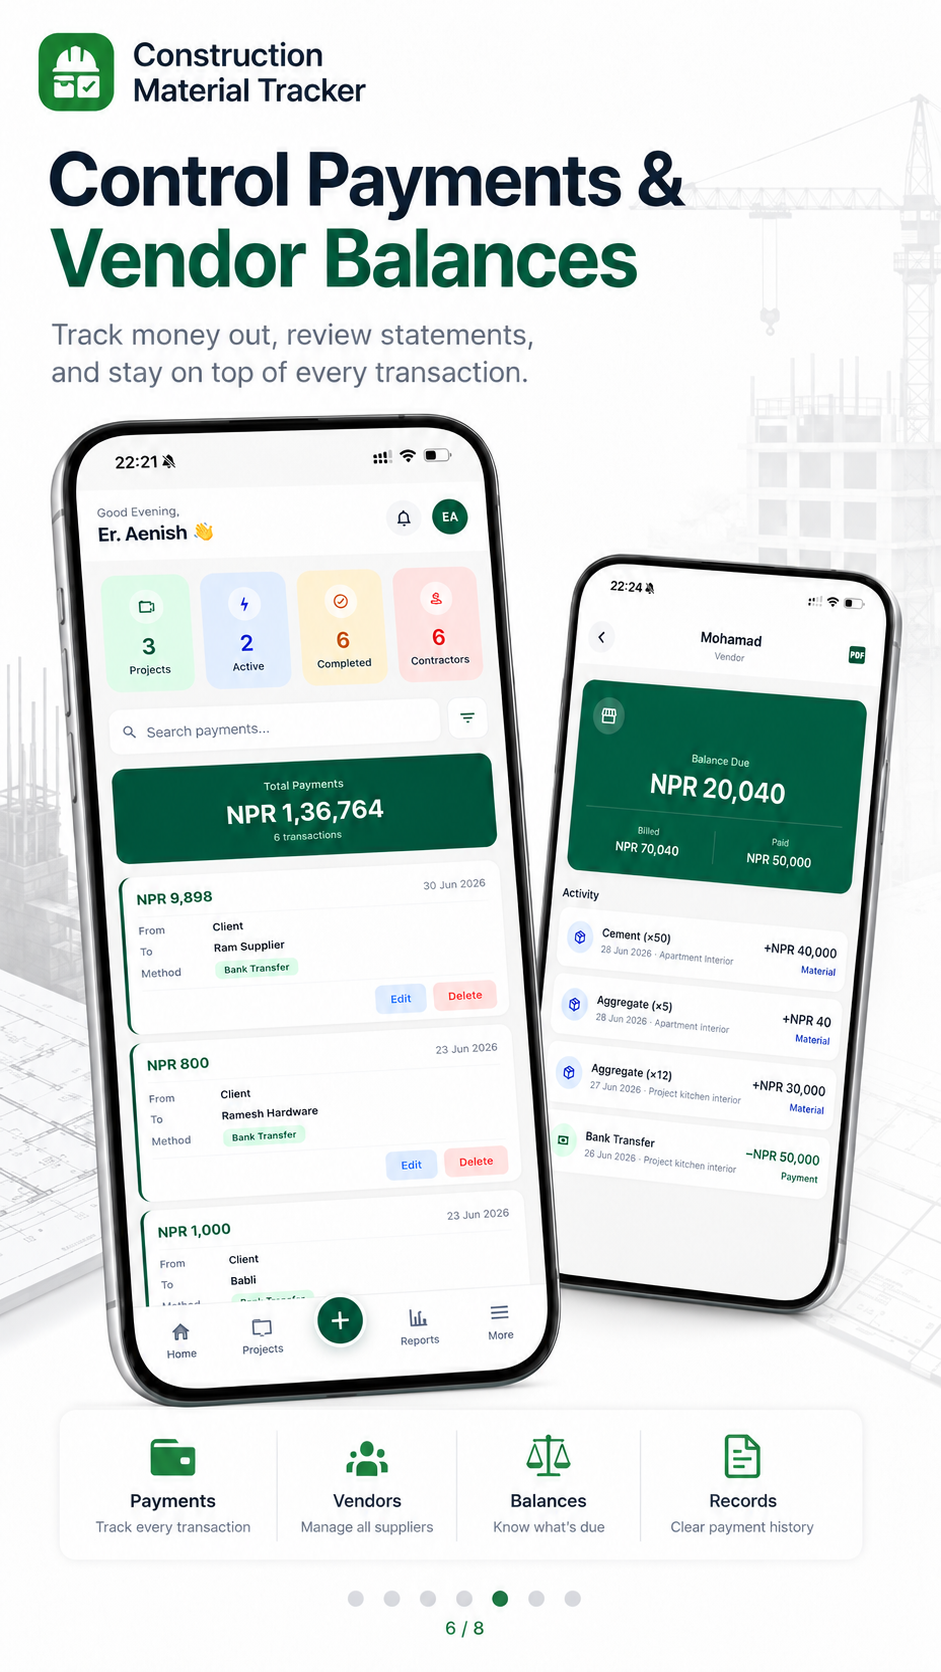
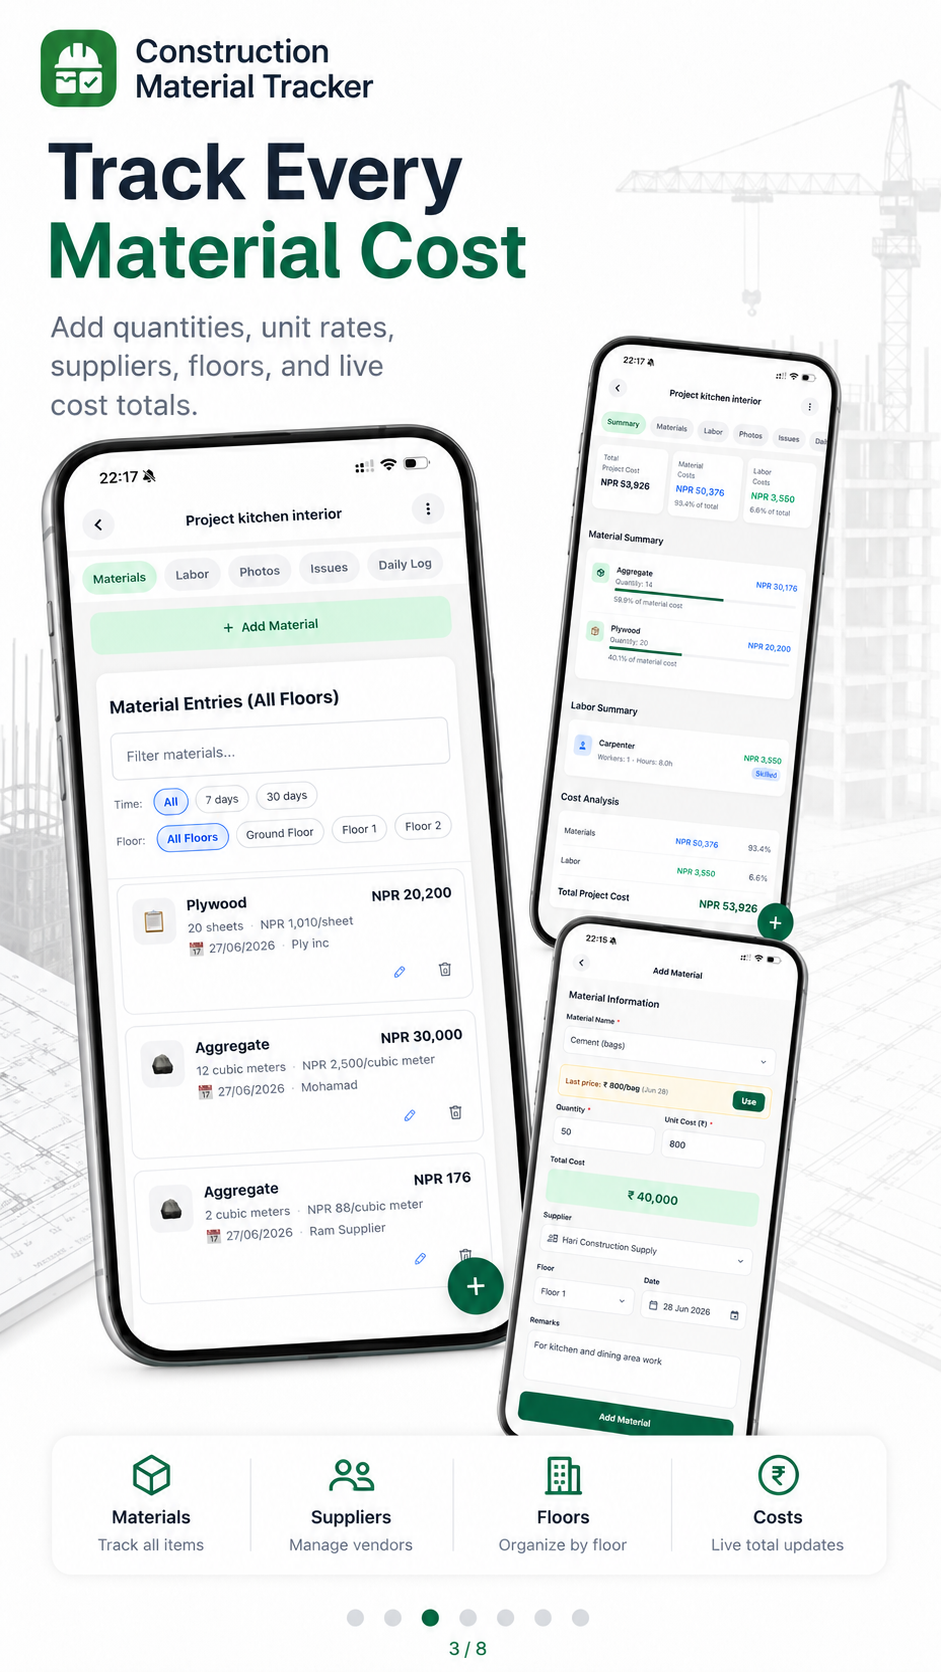
A purpose-built construction expense tracker keeps materials, labor, payments and photos against one project. That is what GharNaksa is built for — so the homeowner, engineer and contractor see the same numbers, even when the client is abroad.
Start today with whatever you already spent
- 1Create one project for the house (or one project per site if you run multiple).
- 2Backfill the last two weeks of bills while memory is fresh — approximate is better than blank.
- 3From tomorrow, log every delivery and payment the same day.
- 4Invite the client or family member who funds the work so transparency is shared, not performed.
- 5Export a PDF statement before the next major payment discussion.
If you are funding the build from abroad, combine expense tracking with remote visibility — the remote construction monitoring guide and the NRN step-by-step house guide cover the overseas workflow.